

How to Draw a Clam Step by Step TUTORIAL
Shawnte is an uncomplicated school scientific discipline educator and illustrator who enjoys sharing drawing tutorials with others.
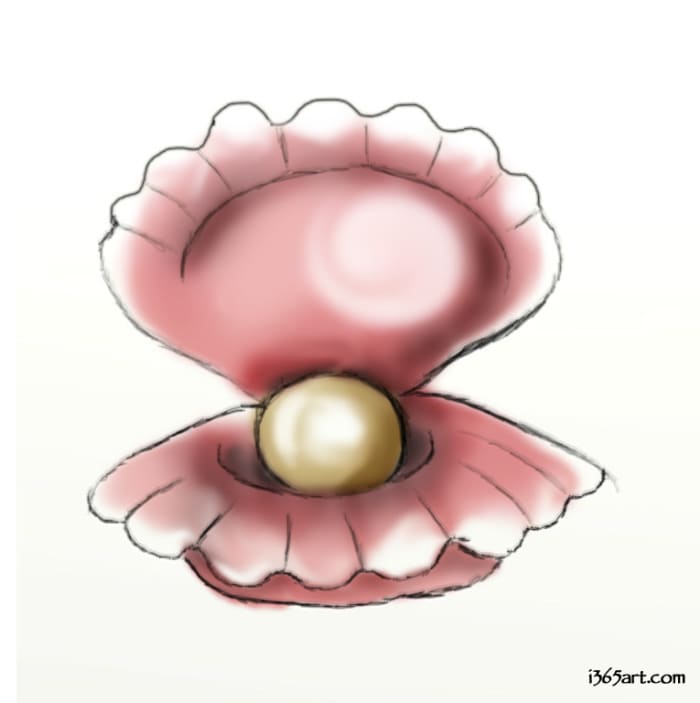
Learn how to depict this mollusk!
Clam Drawing: Getting Started
Hello again. If y'all are reading this commodity, yous may have seen some of my other tutorials, as well. I'm having a blast making these and I really promise that they're helping some folks out somewhere. In this article, I will be giving stride-by-step instructions on how to depict a clam. This mollusk volition accept a large and beautiful pearl in the center of it as well.
I tried to brand this as easy to follow every bit possible, and I hope that I was able to accomplish that here. This is a little bit more complicated than some of my previous tutorials out at that place, so it might accept a scrap longer to draw this. There are more steps than usual, just drawing this should take no longer than 10 minutes max.
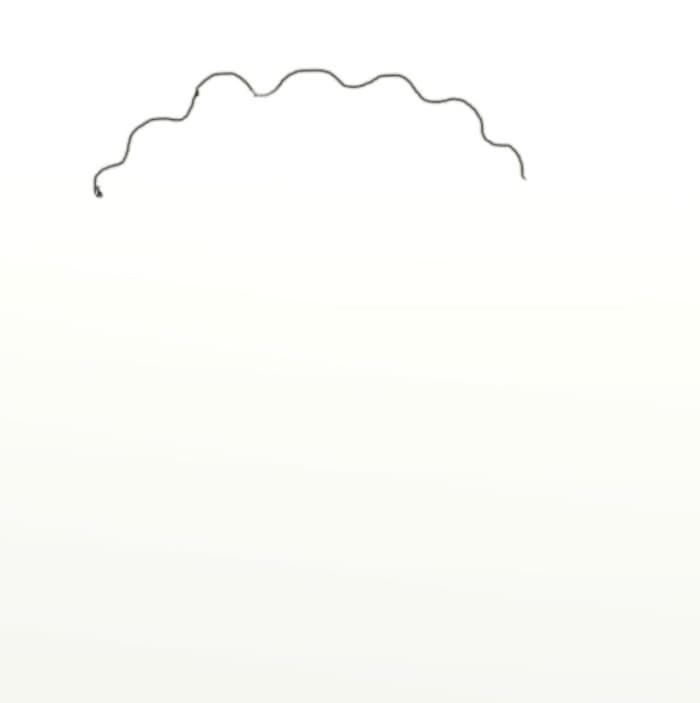
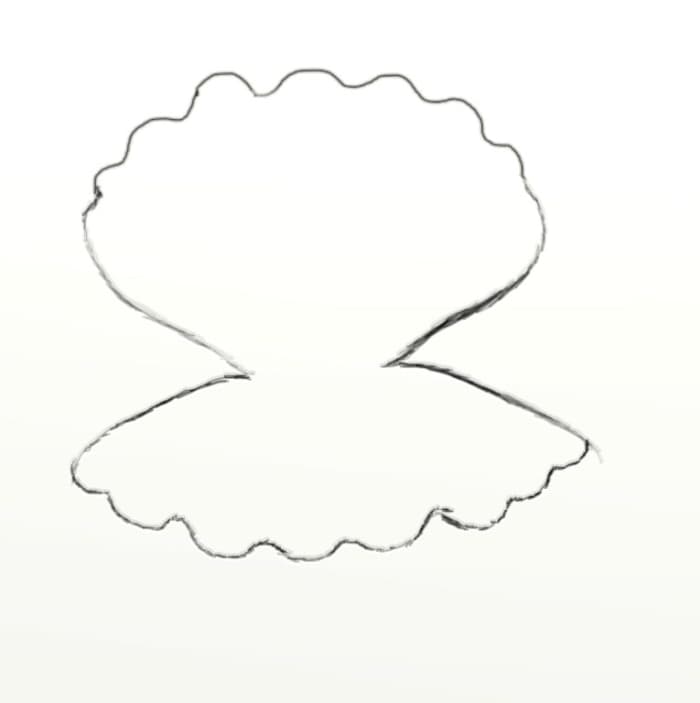
Step one. Depict the top of the clam's shell.
Step i. Draw the Top of the Mollusk's Shell
This mollusk volition be opened if you lot did not notice in the colored image to a higher place. Draw the tiptop of the clam's vanquish equally if it were opened. The opening of the shell very cute; information technology has many curves and has a unique design of its own.
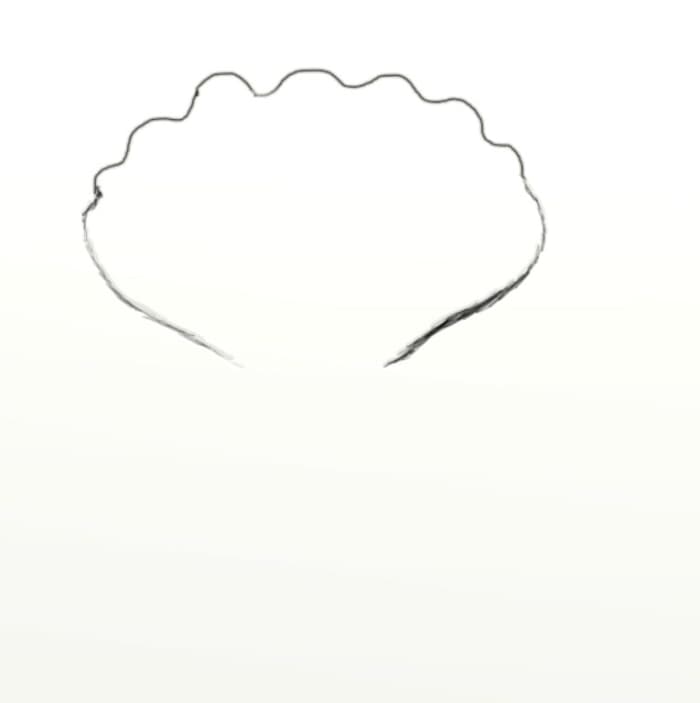
Step two. Draw the rest of the first half of the clamshell.
Step 2. Draw the Rest of the First Half of the Clamshell
Next, draw the remainder of the beginning half of the clamshell. So that I tin describe a clam in the center later, notice that I did not describe the full bottom of the trounce.
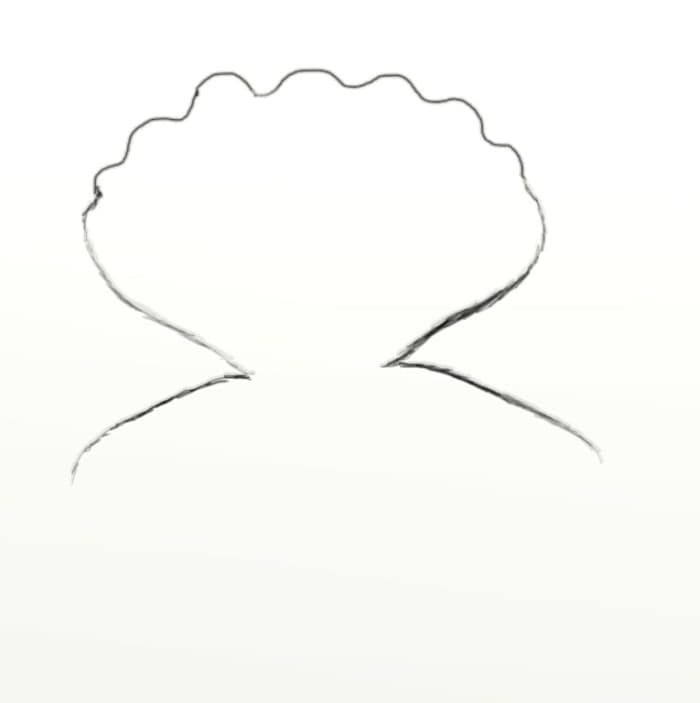
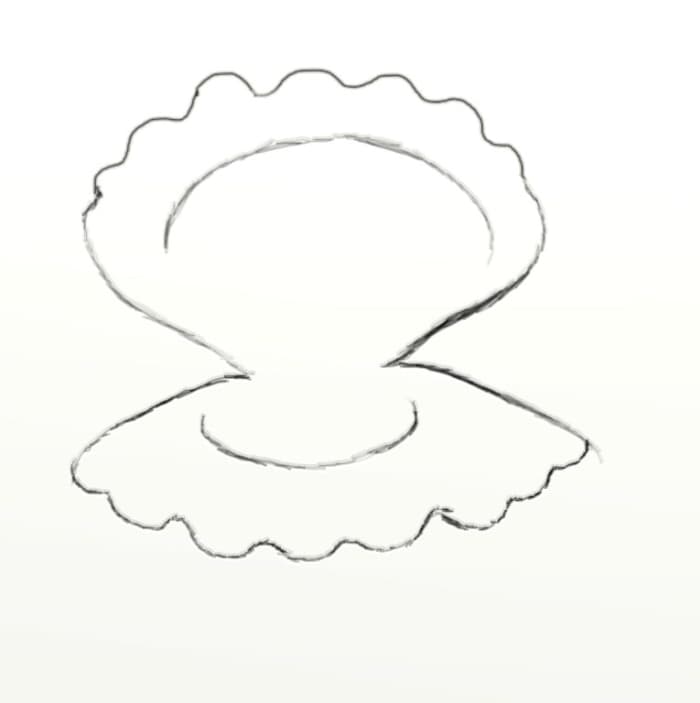
Step 3. Begin drawing the bottom office of the clamshell.
Step 3. Begin Drawing the Lesser Part of the Clamshell
Now that the elevation of the mollusk has been drawn, it's time to beginning drawing the bottom office of the clamshell. Recollect, to exit space for the pearl after; y'all practise not have to draw the full portion of where the two shells come across.
Step 4. Describe the residual of the lower shell.
Step 4. Draw the Rest of the Lower Trounce
Like the superlative shell, the lesser of the clam volition too take on the ruffled/curved appearance every bit well. Describe the residuum of the lower beat like to how information technology was drawn hither.
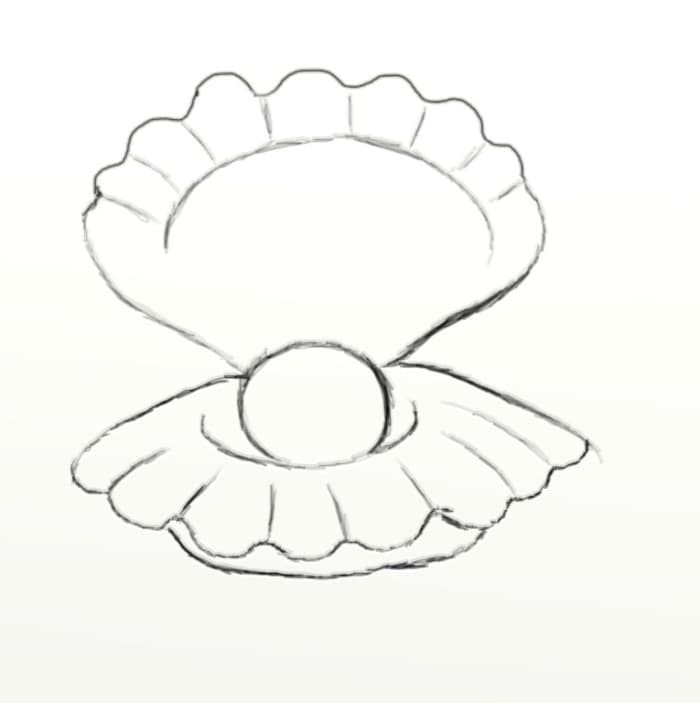
Step v. Add some interior item.
Step 5. Add Some Interior Detail
At present that both crush parts take been drawn, information technology is time to add some of the interior particular of the shells. When the clamshells close together, it'south nearly similar a mouth opening and close. Think of the interior of the beat as if information technology were the roof of a human or creature's rima oris. Now, this is plain goose egg like the mouth of a person, but the concept is somewhat like.
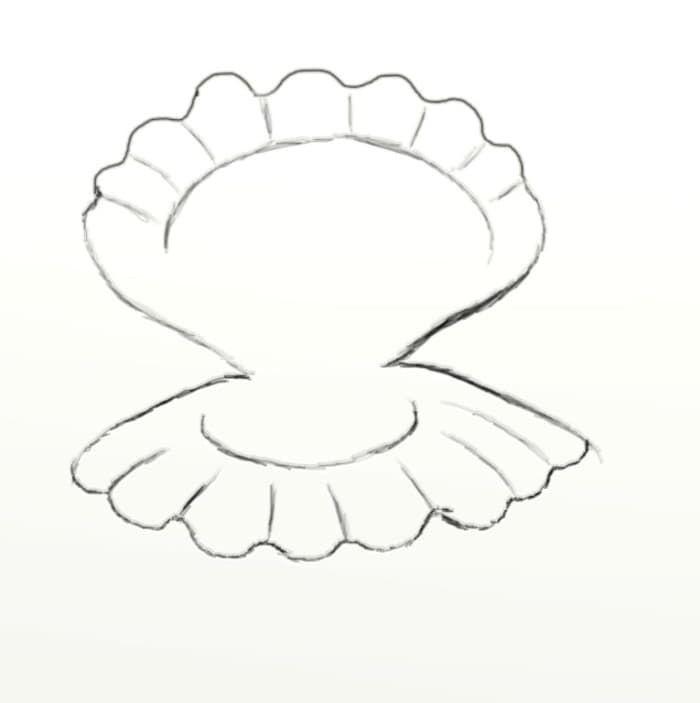
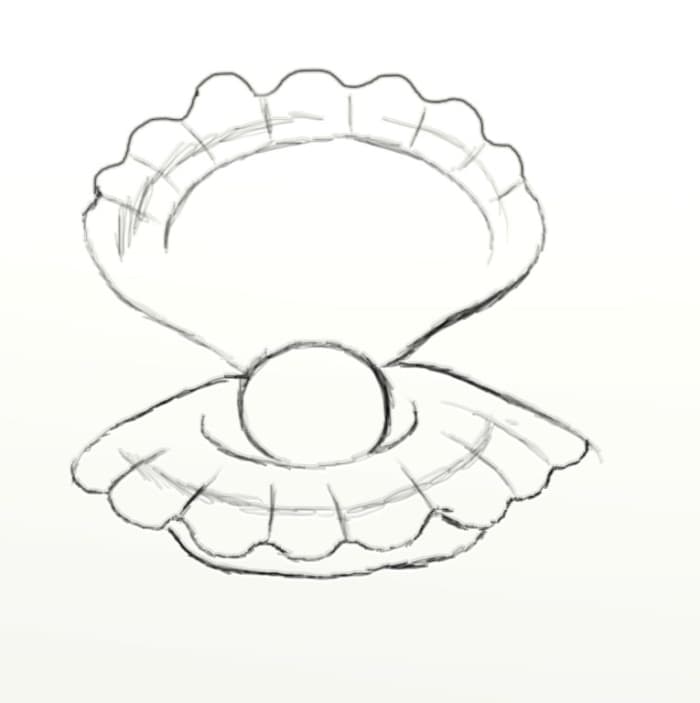
Stride 6. Add item to the oral fissure of the clamshells.
Step six. Add Detail to the Mouth of the Clamshells
Adjacent, depict in some lines at the rima oris of the clamshells. This would be considered additional item as well.
Read More From Feltmagnet
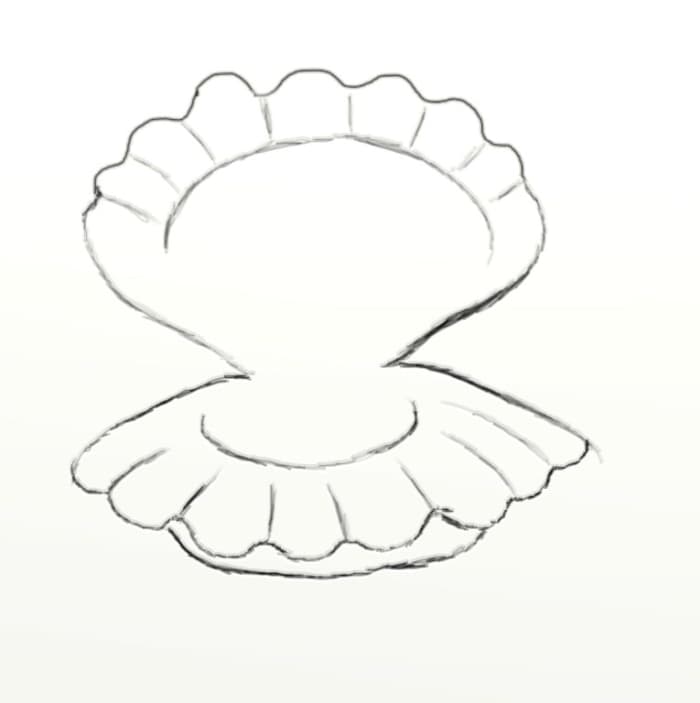
Step seven. Draw a base for the bottom clamshell.
Step 7. Draw a Base for the Lesser Clamshell
To me, a clam that is opened somewhat reminds me of a jewelry box or music box for some odd reason. In this step, come across that I have drawn somewhat of a "base" for the lesser clamshell.
Step eight. Depict the pearl.
Step 8. Draw the Pearl
We're almost there! It'southward time to draw in the bodily pearl now. Call back when I mentioned that the spot where the shells meet (in the middle) should non be completely drawn? Now we run across why this is. I have immune space for the pearl to be fatigued in to the eye of the clam. Depict the ball-shaped object in the location of the example drawing.
Step 9. Add the concluding details.
Stride 9. Add together the Final Details
In this concluding footstep, nosotros will focus just on the details. If you expect at the picture to a higher place, you will encounter all of the extra lines I included around the openings of each crush. After this final step, that is pretty much all there is to it! Cheers for reading this tutorial, and I hope that you attempt it out for yourself at least in one case.
Nevaeh on November 13, 2018:
What color
Past;SCOPUT on May 29, 2018:
THANK YOU SOOOOOOOOOOOOOOOOOOOOOOOOOOOOOOOOOOOOOOO MUCH Writer YOUR THE Best AUTHOR IN THE WORLD LALALALALALALALALALALALALALALALALLALALALALALAL
BY:NATHAN! on May 25, 2018:
THANKS!SOOOOOOOOOOOOOOOOOOOOOOOOOOOOOOOOO MUCH Author YOUR THE All-time IN THE WHOLE WIDE World!
Bob on April 06, 2018:
Amazing, thanks so much
Harry on Feb 23, 2018:
Helped ME with my homework aswell
awet on January 23, 2018:
cheers this helped me with my homework
Aaahrut on June 27, 2016:
Great tutorial needed information technology for school
musichalo on December 14, 2014:
Cheers a lot doing a school projection for "The Pearl". Helped alot.
OMG on October 07, 2013:
thanks
you saved my day
hippy 2013 on October 07, 2013:
awesome !
thank yous a lot
need to draw for homework
selena 23 on October 06, 2013:
well......
i will try.
need to draw this for hmework
reading "the pearl"
Shawnte (writer) on September 30, 2012:
Good luck! Glad you like it :3
Lynn S. Murphy on September thirty, 2012:
Slap-up step x step and illustrations. Even I, a stick figure creative person is going to give this a go.
DOWNLOAD HERE
How to Draw a Clam Step by Step TUTORIAL
Posted by: brendahawricer.blogspot.com

Comments
Post a Comment